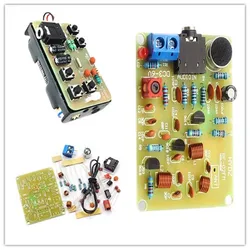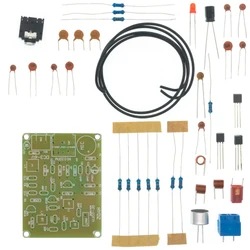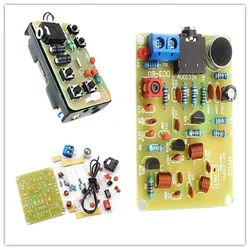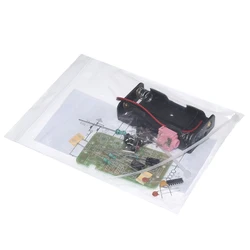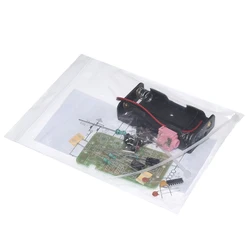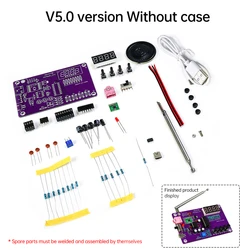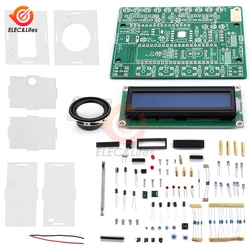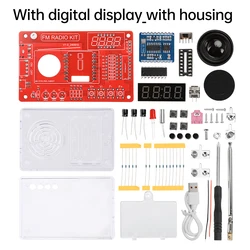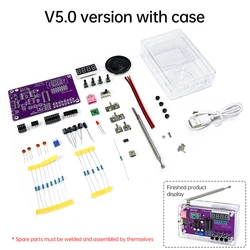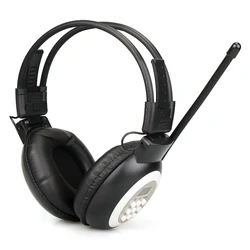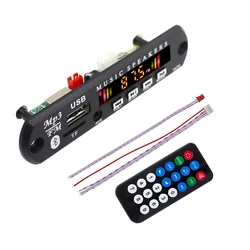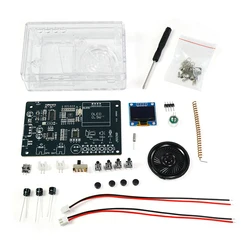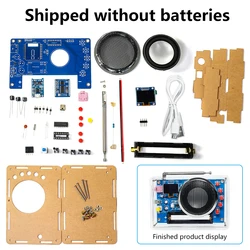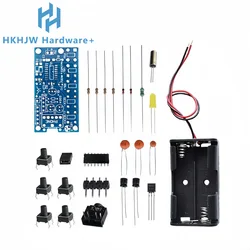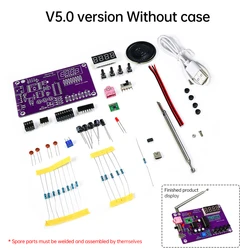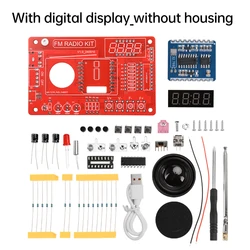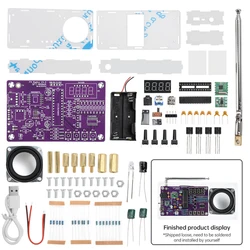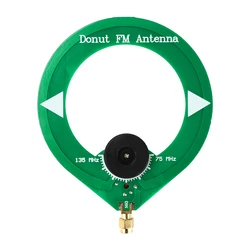
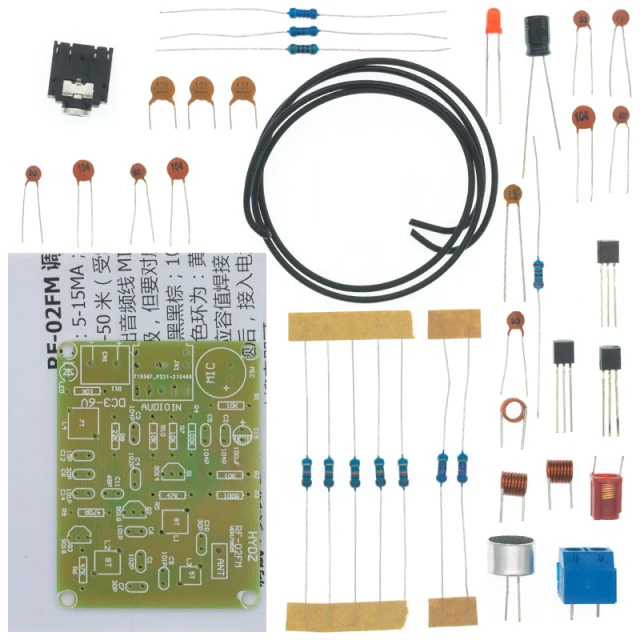
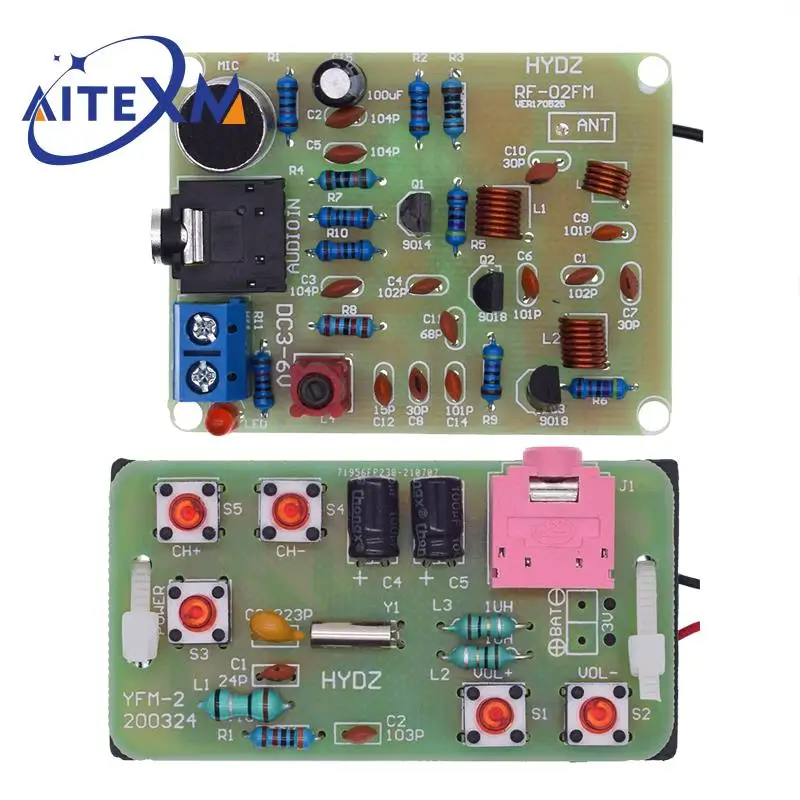
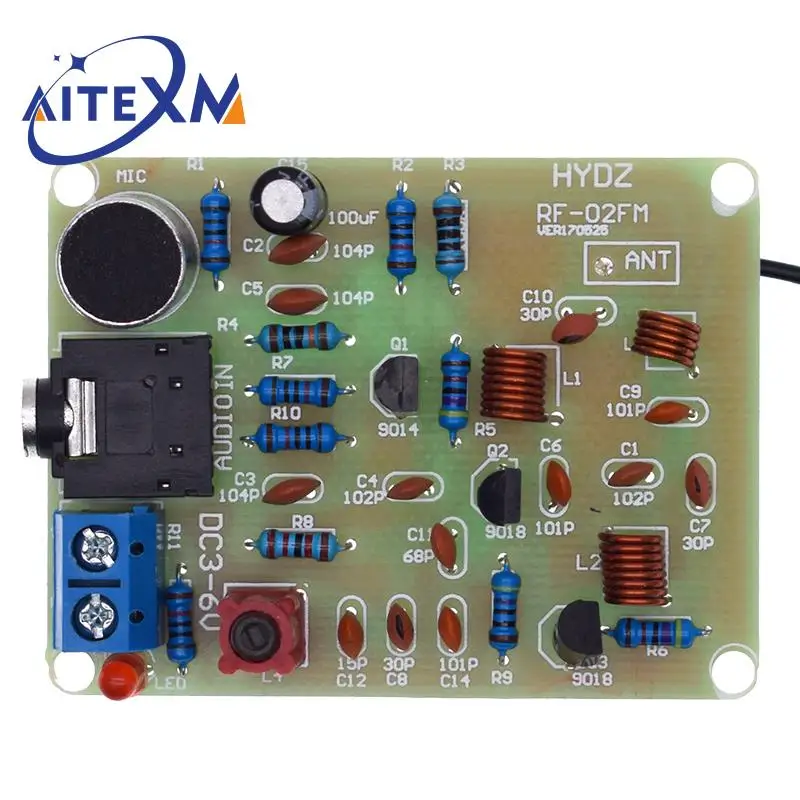
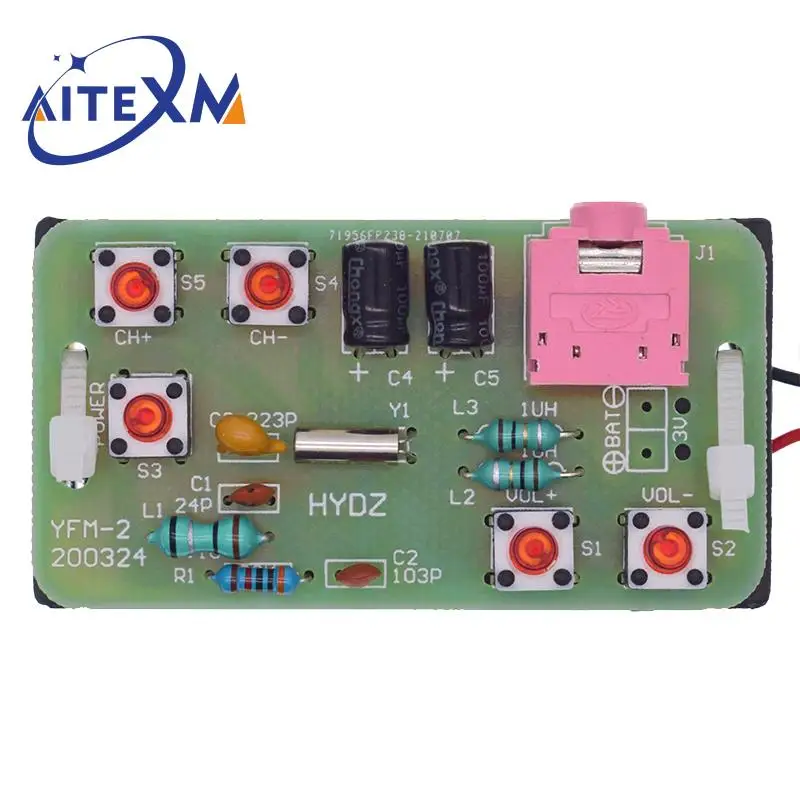
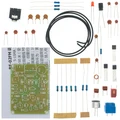
⚡ Product Overview:
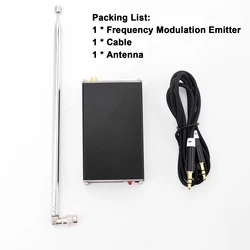
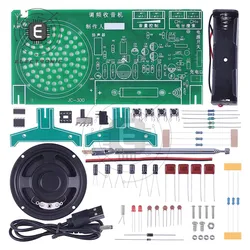
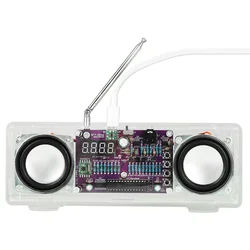
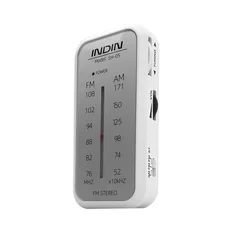
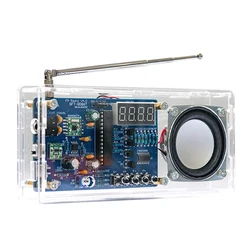
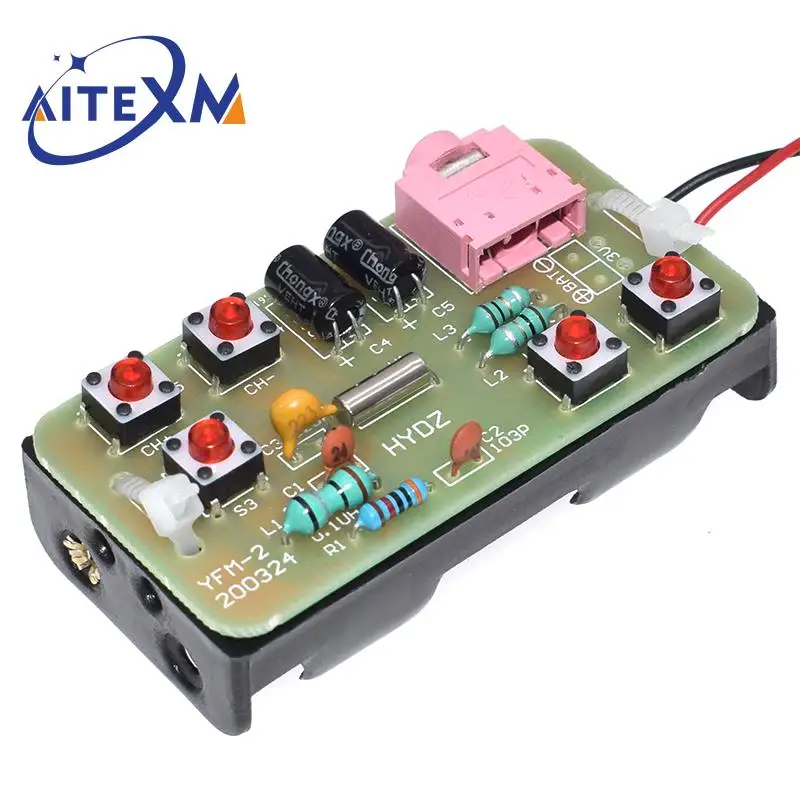
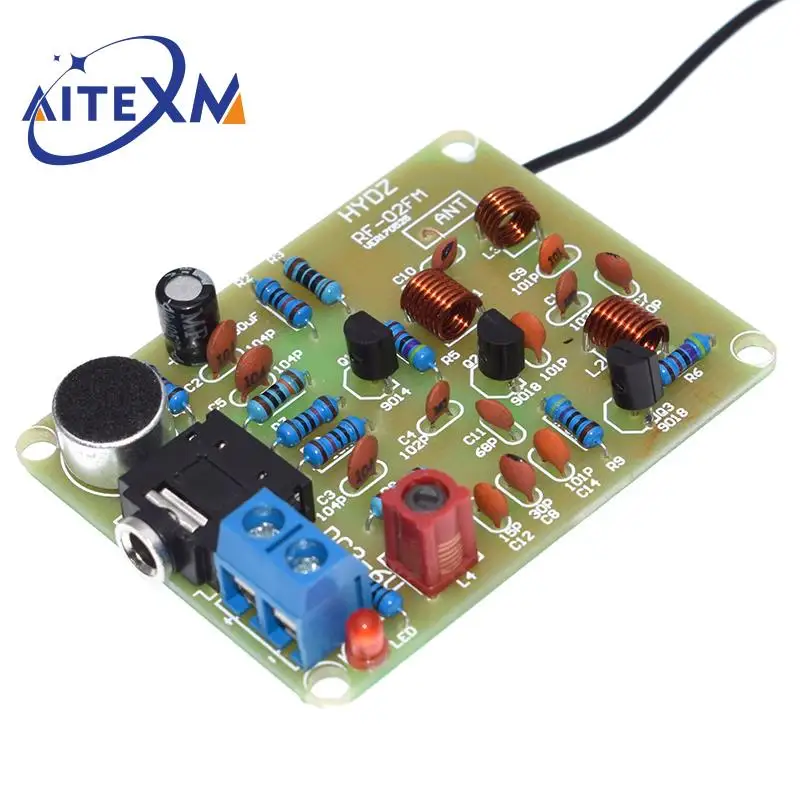
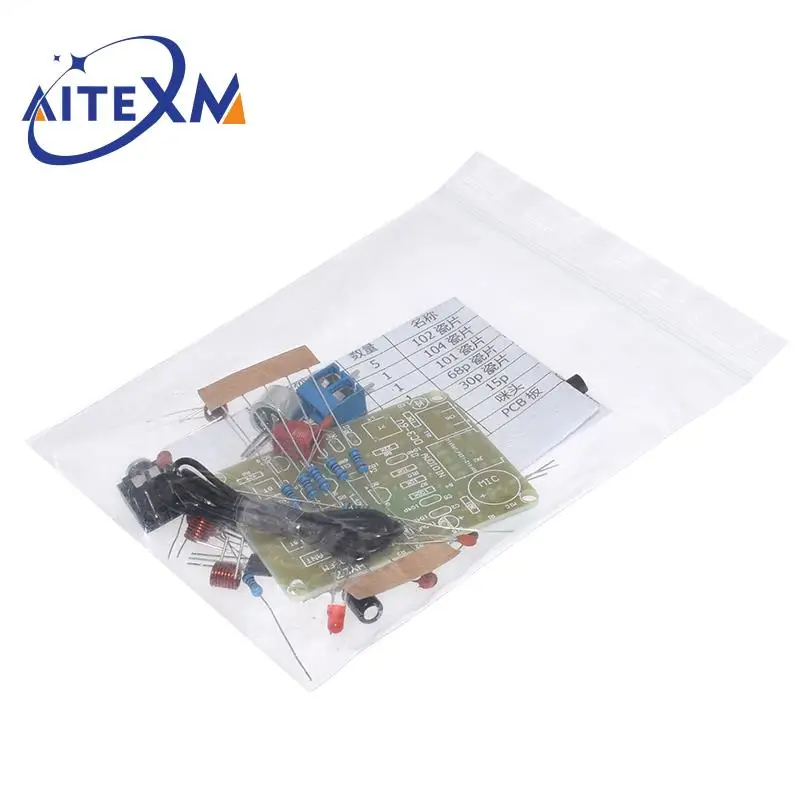
Delve into the world of electronics with the 76-108MHz FM Stereo Radio DIY Kit, an engaging project designed for both beginners and seasoned soldering enthusiasts. This versatile kit allows you to build your own wireless FM transmitter and receiver module, enhancing your understanding of frequency modulation technology while providing a fun and hands-on experience. Ideal for educational settings or individual exploration, it offers an exciting opportunity to learn about radio frequencies and circuit construction.
Specifications:
- Model: RF-02FM
- Operating Current: 5-15mA
- Operating Voltage: DC 3-6V
- Transmission Distance: 5-50m
- Transmission Frequency: 88-108MHz
- Audio Input Level: -15dB (max)
- PCB Size: 53*40mm
⚡ Features:
- Equipped with a built-in digital automatic gain control (AGC) circuit for optimal audio clarity.
- Supports a wide global frequency range of 76-108MHz, catering to various FM broadcasts.
- Promotes hands-on learning through DIY manual soldering, perfect for skill development.
- User-friendly design that simplifies the building process.
- Includes a radio memory function, allowing for easy access to your favorite stations.
Technical Parameters:
- Item Name: FM Stereo Radio Module DIY Kit
- Item Model: YFM-2
- Operating Voltage: DC 3V
- Operating Current: 19mA
- Operating Frequency: 76-108Mhz
- Output Impedance: 32 ohm
- Operating Temperature: -40℃ to 85℃
- Operating Humidity: 0% to 95% RH
- Size (Installed): 57*32*20mm
💍 Applicable Environments:
This kit is perfect for a variety of contexts, including:
1. Training and enhancing soldering skills
2. Educational projects in schools
3. Personal DIY production and experimentation
4. Design projects for enthusiasts and hobbyists
5. Participation in electronic competitions
6. Graduation projects for students
7. Craft collections for makers
8. Home decor projects with a tech twist
9. Souvenir collections for electronic hobbyists
💍 Installation Tips:
To successfully assemble your FM Radio Module, please consider the following suggestions:
1. Gather all necessary soldering tools beforehand.
2. Exercise patience and care throughout the installation process.
3. Remember that this is a DIY kit that requires user assembly.
4. Avoid prolonged contact of the soldering iron with components (maximum 1 second) to prevent damage.
5. Be mindful of the polarity of each component during installation.
6. Take precautions to avoid short circuits.
7. Install more complex components first to streamline assembly.
8. Ensure all components are correctly oriented and placed.
9. It is strongly recommended to read the installation manual prior to commencing assembly!
🔒 Installation Steps:
Follow these steps for a successful assembly of your FM radio module:
1. Install the SOP-16 RDA5807PF at U1, ensuring the marked corner aligns with the PCB pad.
2. Insert a 30K ohm resistor at R1.
3. Install a 0.1uH inductor at L1.
4. Add two 1uH inductors at L2 and L3.
5. Position a 32.768KHz crystal oscillator at Y1.
6. Place a 24pF ceramic capacitor at C1.
7. Insert a 0.01pF (103) ceramic capacitor at C2.
8. Install a 0.022pF (223) ceramic capacitor at C3.
9. Add five 6*6*5mm switches at S1-S5.
10. Install a 100uF 16V electrolytic capacitor at C4 and C5, noting the polarity.
11. Connect a 3.5mm audio jack at J1.
12. Attach the battery box, making sure of correct polarity.
13. Secure the battery box with a cable tie.
14. Connect to a power supply and enjoy your custom FM radio experience!
If this item arrives after the delivery date given at checkout, you will be emailed a £5.00 credit voucher to use on your next order